
1. Jar grabber
2. magnet-on-a-stick (I'm sure there is a proper name for that tool, but I don't know it and its more fun to say magnet...on-a-steeek)
3. bubble wand (also, not the proper name. If you know what these items are called, please tell me.)
You can find these items at most department or discount stores in the 'Home Goods' aisle. They're pretty cheap, about $10 total. I've seen them at Walmart.
4. You're also going to need some jars, lids, and metal rings. You can find jars in the same area as the tools. They usually come in a set of 6 or 12. I usually pay about $8-$10 for a dozen, depending on size. I chose to use pint sized jars because they are the only size I can fit in my pressure cooker.

5. And you need a pressure cooker. Sizes, quality, and prices may vary. But a great investment. Not just for canning. I love cooking beans in mine. Cuts the time down to 45-60 minutes.

Make sure your jars, lids, rings and all canning tools are very clean. You can sanitize them in the dishwasher prior to canning or you can boil them. That's what I usually do, seeing as how I have to boil water anyway. Just drop all the lids and rings right into the pot with the jars.
Make sure the meat you're canning is cooked thoroughly. It's best to can immediately after cooking so that there is less opportunity for bacteria to begin to grow. I'm canning pozole that I made the day before. What I do is return the soup to a pot and boil for 5 minutes to ensure that anything that may have started growing in the refrigerator over night will not survive.
Remove a sanitized jar from the water, dump the hot water in the jar down the drain, and place the jar on the counter top.
Do not touch the jar!
#1 Its really hot.
#2 You don't want to contaminate it.

I place my jars on top of a kitchen towel to catch all the drippings (its about to get messy). You don't necessarily have to use a funnel during this step, but it sure does make things easier. Ladle your product into the jars, filling them to within 1/4 inch of the rim.


The other end has handy dandy measurements on it that will help you determine where the heck a 1/4 inch from the rim of the jar might be.

This one needs a little more liquid.
Once the measurements are accurate, the air bubbles are removed, and as long as you're not turning blue from holding your breath so as not to breathe into the jar, thus contaminating your product... take a clean paper towel and wipe the rim of the jar clean and dry. This is important to get a proper seal.

Use the magnet-on-a-steeeek to fish a lid out of the boiling water and place it on the rim of the jar immediately.


Repeat this process until all your jars are filled and sealed, or all of your product is gone.
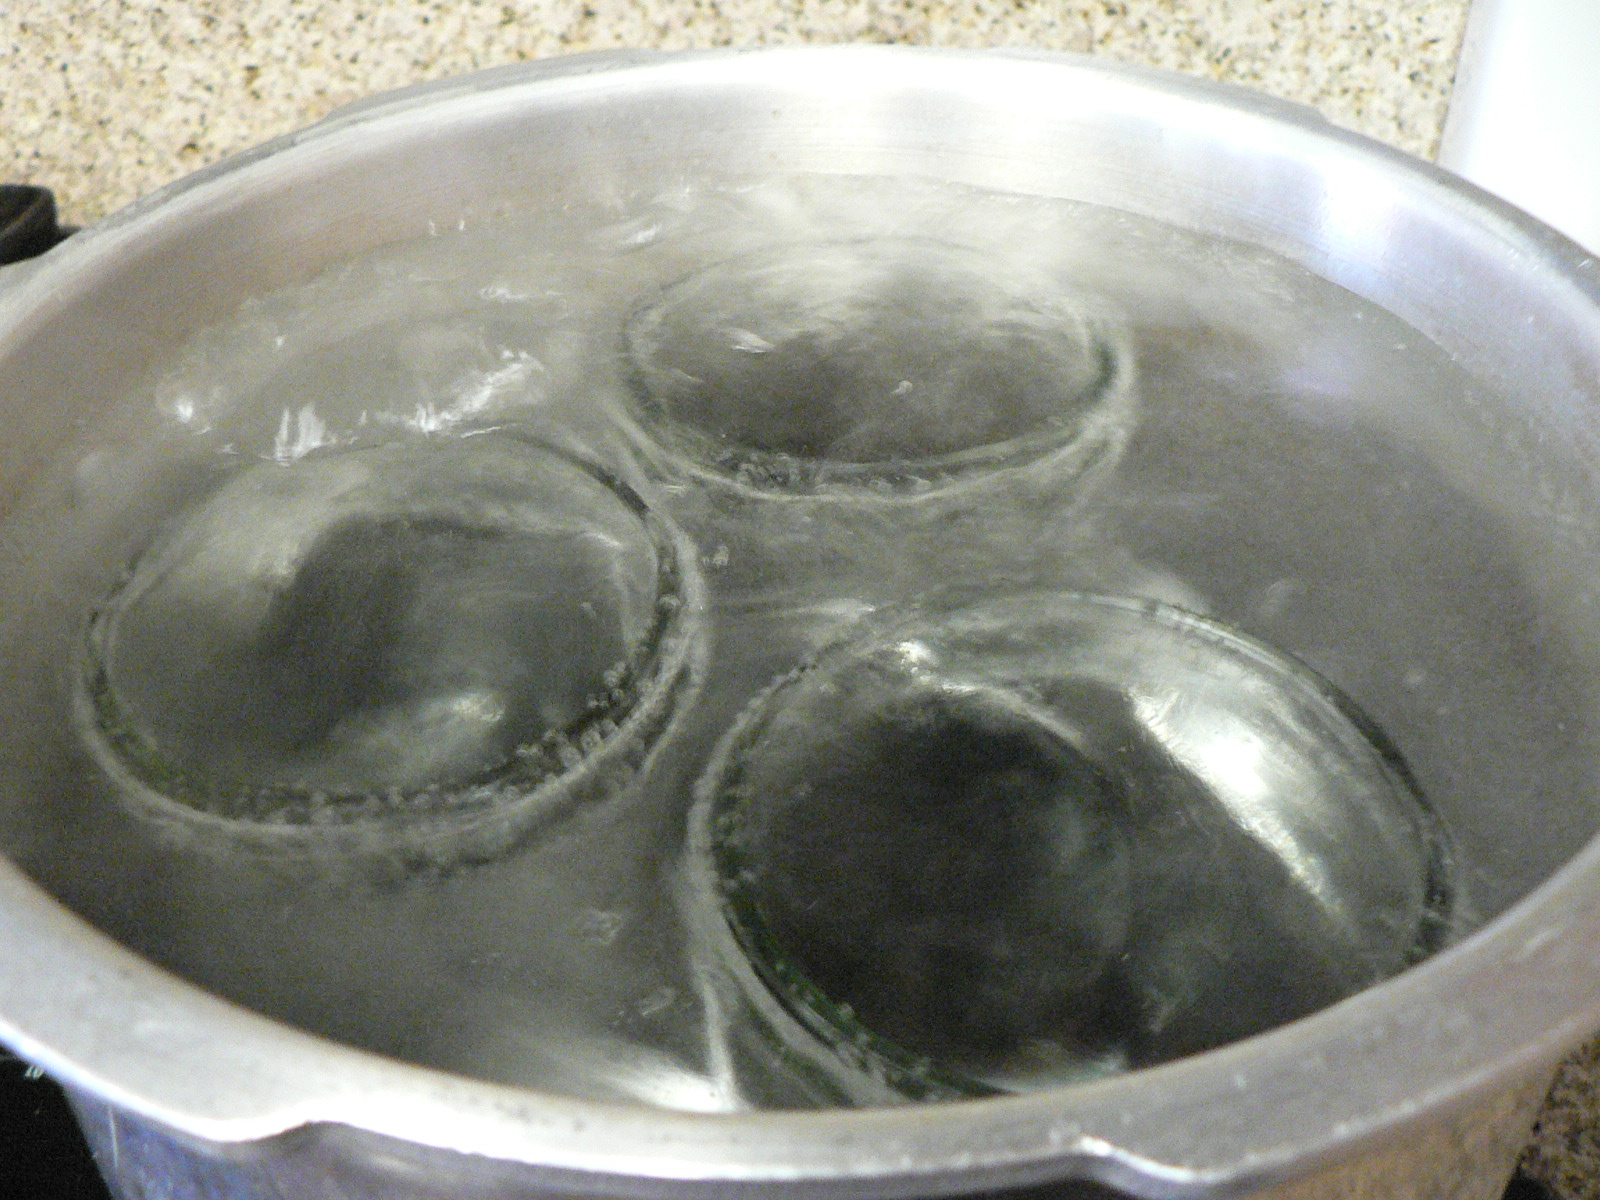
Use the jar grabbers to place the filled and sealed jars back into the boiling water. The water level should rise above the jars by at least one inch. I need to add a little more.

Replace the lid and seal it properly so that it is airtight. Pressure cook the jars at 10 lbs psi for 1 hour and 15 minutes if using pints, or 1 hour and 30 minutes is using quarts.
The time starts when the pot has been pressurized. You can tell when that happens because the little spout on the lid will start hissing and sputtering steam.

Don't be shocked when you look into the cooled pot and find this...

Remove the jars from the pot with your jar grabbers and place them about two inches apart in an area safe from disturbance for the next 12 hours or so. Let them cool naturally. Cooling the jars is part of the preservation process. They aren't fully sealed until they have cooled enough for the lids to create a vacuum seal during the cooling process. You will know that this has happened when you hear a "pop," or "ping," sound. This sound is the result of the metal lids being "sucked" inwards, indicating that any air inside the jar has escaped and the lid is vacuum sealed so that no air can get in.

If the procedure was followed correctly and the jars were properly sealed, your jarred products should be safe for consumptions for two the three years. Always inspect home processed jars for damage and contamination before eating the product.
I hope you try this at least once in your life. Its not for everyone. But if you have the time, and the desire to try new things, canning your own food can be very rewarding.
Good luck and have fun!
Thanks for providing this information. I know that people can meat products (homemade stew, chicken soup, ravioli, etc). I did note however(with disappointment) that the national canning organization (or a similar name) said that canning meats can not be guareenteed to be safe. It that because the person canning must assure that the meat product is thoroughly cooked, and that every stage is assured to be santitary,germ free, and all the air is out of the product?
ReplyDelete