#2 How To Sew a Button
I know this seems like a very elementary thing to post a tutorial on, but I have seen it done the right way, and I have seen it done the wrong way. I hope this helps anyone who isn't sure which way they are doing it.
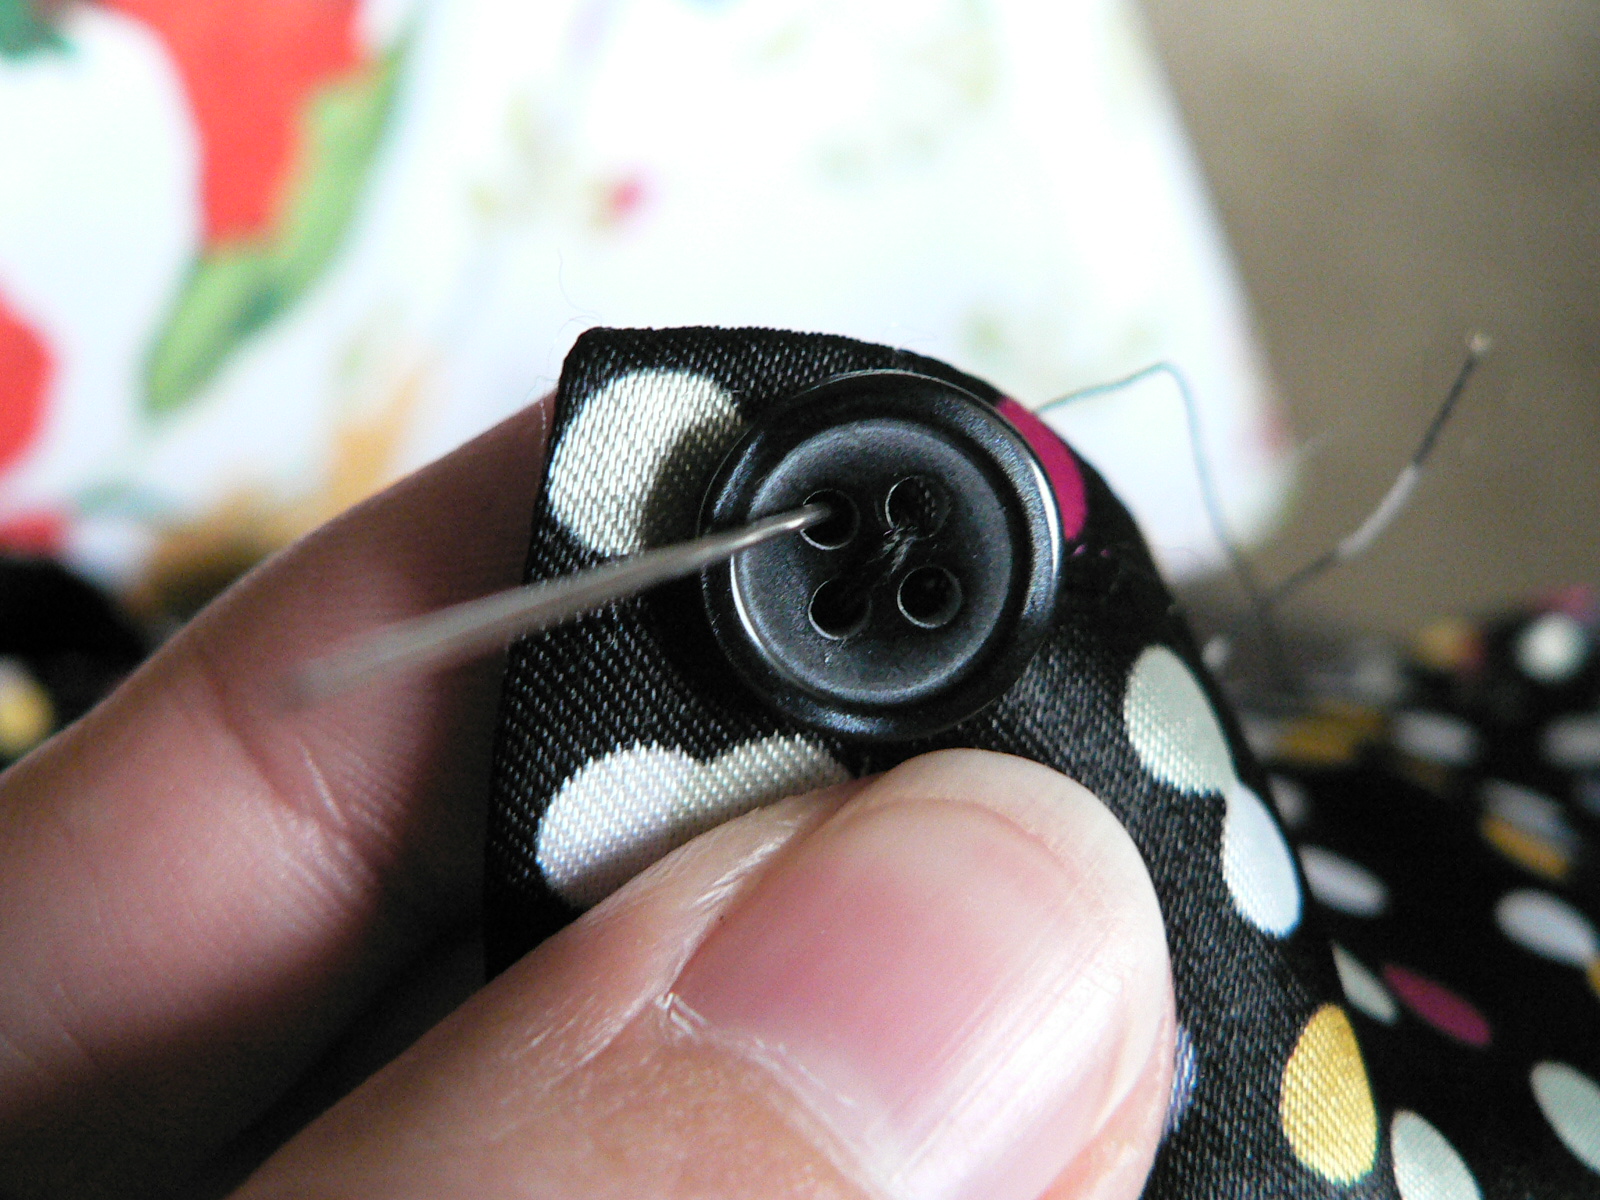
1. Find a button. If you're lucky enough to have the original button that came loose, great. It has been my experience, however, that when buttons fall off, they make their way into the abyss of lost articles where they dwell with mismatched socks and solitary mittens. Try to find a new button that is more or less the same color and size as the original. Slightly smaller is okay, but slightly larger generally doesn't work.


4. Insert the needle in the button hole that is diagonal to the one you first pulled the thread through. (This only applies if you are using a 4-hole button. If you are using a 2-hole button you would just insert through the other hole. If it were a no-hole button, you would just thread continuously through the loop in the back of the button.) Pull the thread all the way through the fabric until it is tightly gripping the button.

Make sure that the thread is taut and there is no slack either in front or back. Loose buttons are lost buttons. I just made that up.
6. Bring the needle through the hole that is diagonal to the one you just pulled it through, making a 'X' pattern with the thread.

7. Repeat this process three or four times until you are satisfied that the button is properly secured. Be sure to follow the same pattern in doing so.


I like to do this at least twice to ensure that the knot is tight and secure.

9. Cut the loose threads and check to see that the button is aligned properly by fastening it.

Viola!!! Now your daughter can wear her dress for two more months before she grows out of it!

#1 Child's Gardening Apron/Tool Belt
I like to get my kids involved in gardening, so I thought that if I made them their own gardening aprons then they might just use wearing them as an excuse to get involved. Let's cross our fingers that it works, okay?


1. Cut two pieces of fabric - the first should be about 12 in x 10 in, the second is 12 in x 8 in.


3. Along the unhemmed side, make a fold wide enough to fit a ribbon through. The ribbon is the apron tie. I used 7/8 inch ribbon so I made a 1 1/8 inch loop. One inch to fit the ribbon through with a little wiggle room and also 1/8 seam allowance.

You'll end up with a loop like this.


and continue to sew along the edge of the unfinished side. When you put the pieces together, they'll look like this:

Notice the one on bottom has an open loop for the apron ties and the one on top is sewed closed.
6. Now sew the two pieces together along the edges leaving a "pocket."

It had nothing to do with the fact that I hadn't ironed my fabric before I started sewing and there was a nifty crease on the pocket to act as a guideline.

8. Cut a ribbon to whatever length you like, as long as it will be long enough to tie around a child's waist. One yard would be plenty long. In order to keep the edges of the ribbon from fraying, I like to burn them. Take your ribbon over to a flame (stove top, candle, match, lighter, etc.) and quickly drag the edge of the ribbon through the flame.


Pull the end of the ribbon out of the loop and remove the pen. Straighten out your fabric.

REPEAT: I DO NOT ALLOW MY PRESCHOOLER TO CARRY MY SCISSORS. EVER.
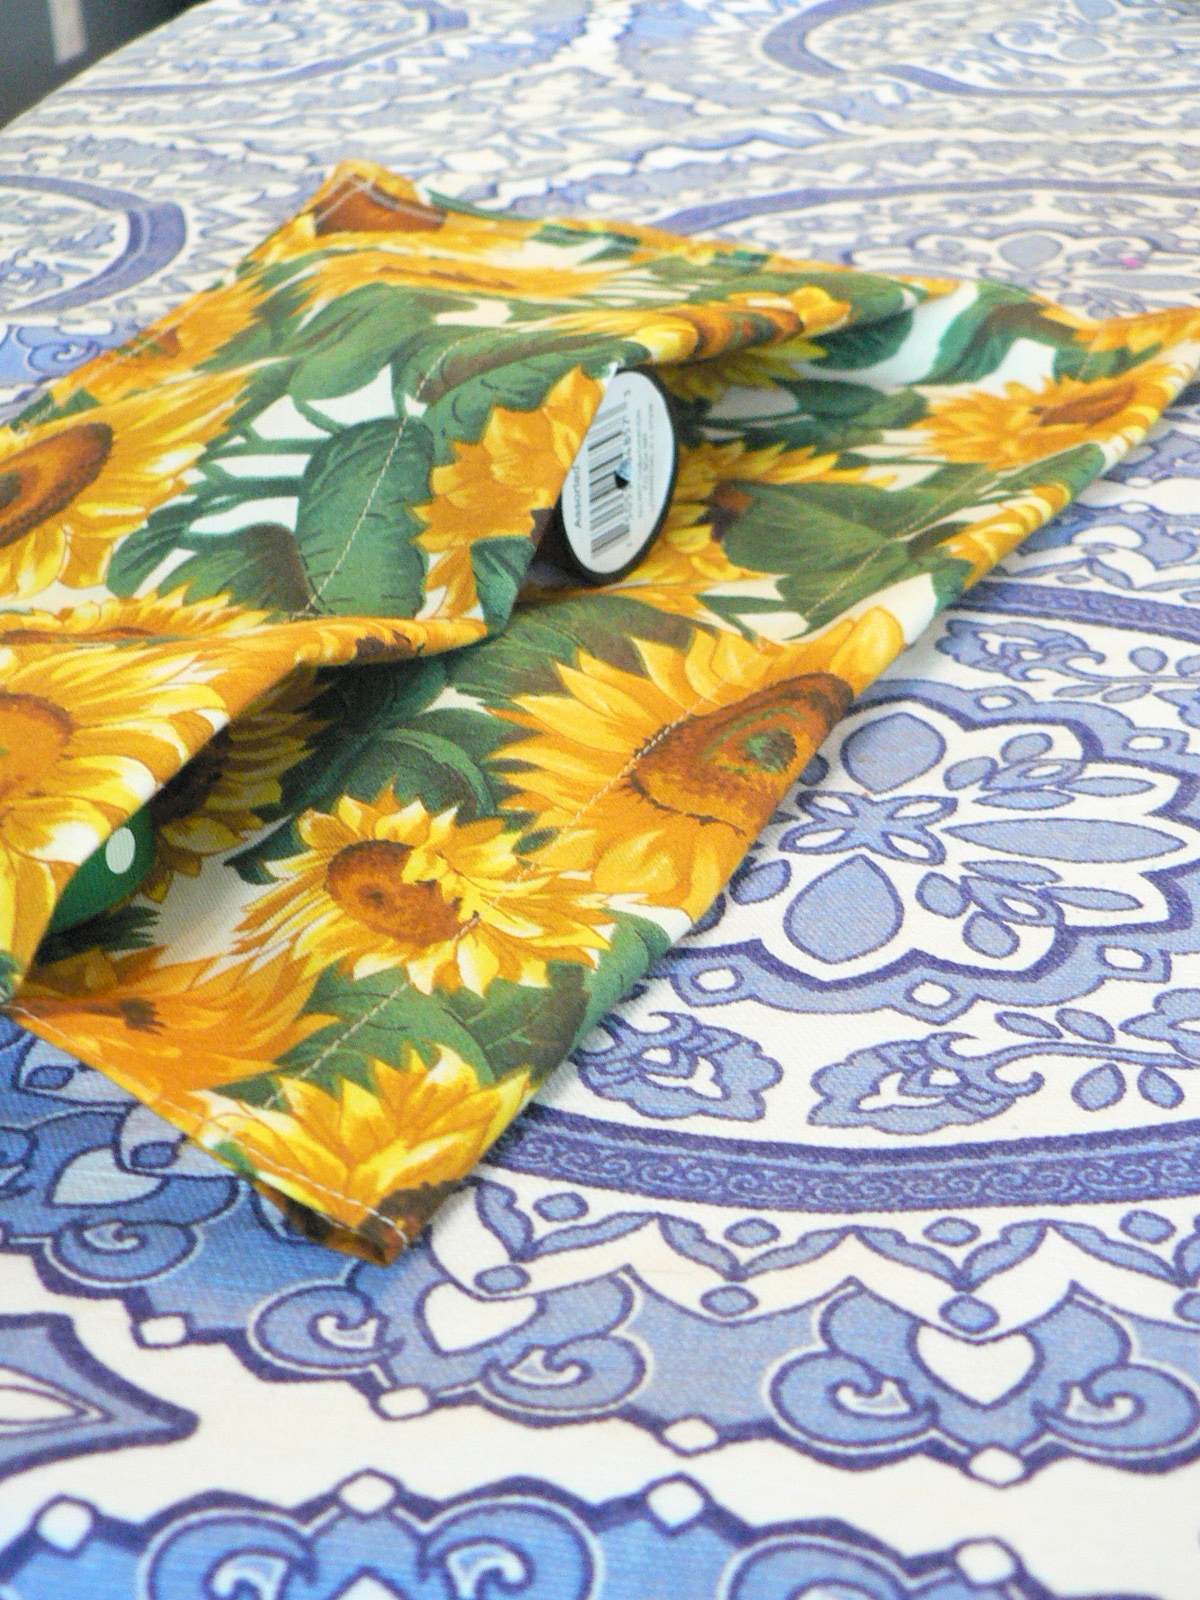
Here's another one I made.

Its what I do.
I made three of these aprons in an afternoon and I would bet that I didn't spend more than fifteen minutes total on any of them. But that's probably obvious.