IT GREW.
I was shocked. I grew vegetables of all sorts. So much, in fact, that after I cooked them, froze them, and canned what I couldn't store in my freezer, I was just giving them away. I had no idea what I was doing. Okay, maybe I subscribed to a few gardening magazines and bought a few books, but mostly, I was just winging it.
After an entire season of successful gardening (there were failures, too. I got terrible bell peppers and very few cucumbers) and reading up on the literature, I have learned a few things. I'll share what I know, and tell you when I learn what doesn't work, so that if you've ever considered starting a garden of your own you'll have a friend throughout your learning process. And if you have any advice to offer me, I'd gladly accept it. I'm always looking for ways to improve!
Posts #3 (How to build a garden tee pee) and #4 (The Last Carrot) have mysteriously disappeared! If I can teach myself how to fix this problem, I will... until then - I'M SORRY!!!
#2 PREPARING THE GARDEN BED
I started pretty late this year. I never actually broke ground until around mid February. Ideally, a garden bed should begin preparation as soon as possible after the end of the garden season, but....
That didn't happen. Don't ask me why. I was lazy, okay. Sheesh.
So, anyway, by the time I summoned up the motivation to go outside and evaluate my garden situation, it was February. And I was looking at this...

Preparing the area is a simple process really, but it does involve manual labor. If you don't care to be involved in this kind of activity, run away now. I'll turn around...
Are you still here?
Whew! I was nervous!
Before you change your mind, go grab your shovel and start digging!
If you plan to plant directly into the ground and don't feel like bothering with raised beds because you're young, and virile, and have a healthy back, then here's what I recommend:
#1 Decide on the dimensions of your garden bed. I have several that are about 6ft x 3ft. Small and manageable, and works for the space I have.
#2 Start digging. You need to make sure that you are digging at least eight inches deep. This should allow plant roots plenty of space to reach deep down for water.
#3 As you dig, just flip the soil back into the space you pulled it out from. Don't bother to pull out any weeds or other grasses first. Just flip them right under. They'll add to the organic matter in the soil and provide some tasty nutrients for your potential plants. HOWEVER... if those weeds have begun to flower and go to seed, remove them. Otherwise you're just planting a weed garden. Use the shovel blade to break up large chunks of dirt and feel for rocks that may have been buried underground. Should you find any, be sure to remove them from the bed.
#4 Continue in this manner until the entire garden bed had been overturned.

#5 If your soil was tightly compacted to begin with, you may want to turn everything one more time just to ensure that its nice and loose before you try planting anything. Tightly compacted soil makes it difficult for roots to spread and access water and nutrients.
#6 If your soil was fairly loose to begin with, amend your soil with whatever additives are necessary. To the above patch, I added some compost to help enrich the sandy soil I have. Now is also a good time to add in some fertilizer. What kind and how much depend on a number of factors like the current fertility of your soil and what you'll be planting.

#7 Find a rake. Start raking the soil to evenly distribute your amendments and fertilizers, if you added any. Raking also fills in all the holes you created while you were digging and helps to level the soil. Level soil is important for proper drainage of plant roots.
In very little time, you can go from this...

Before you begin planting directly into the ground, its a good idea to leave this space alone for a few weeks to allow the soil some time to settle. Try to avoid walking directly on your garden beds so as not to compact the soil.
SOIL THAT IS TOO TIGHT - poor root drainage and inefficient access to available nutrients
SOIL THAT IS TOO LOOSE - too much drainage which causes plants to dry up and nutrients to be washed away.
If you let the soil settle on its own for a few weeks there should be just the right balance so that plants roots receive just enough water and nutrients.
PS Don't quote me. I'm totally a beginner.
#1 SOIL TYPE TEST
In order to produce successful results in your garden, you have to start with quality soil. I know most of us who have ever wanted to grow something would prefer to put a seed in the ground, water it, and watch it flourish with little to no effort on our part. Oh how I wish it were that easy. But I can tell you that it's not. I've tried that and the results have mirrored the amount of work I put into it - nothing.
In order to grow quality product, you have to consider the soil you're planting in. There are four major categories of soil type:
Sandy - as the name suggests, it is composed, in large part, of sand, and drains water away from roots very easily. Sometimes, too well, and the plant doesn't get enough water. It also don't hold many nutrients.
Clay - composed of sticky, solid clumps of dirt that retain water and leave little space from roots to spread. It is often very nutrient rich, but plants may have trouble accessing those nutrients due to the tight compaction of the soil.
Silt - composed of particles that are lighter in texture than clay, but heavier than sand. They are easily washed away or eroded during watering.
Loam - an ideal combination of all the above types of soil that provides proper drainage and nutrients to plant roots.
How do you know what type of soil you have? You can perform a simple jar test to find out.
Obtain a large, clear jar with a tight fitting lid.

Dig about four inches into the soil and retrieve about a 1/2 cup of soil and put it into the jar.
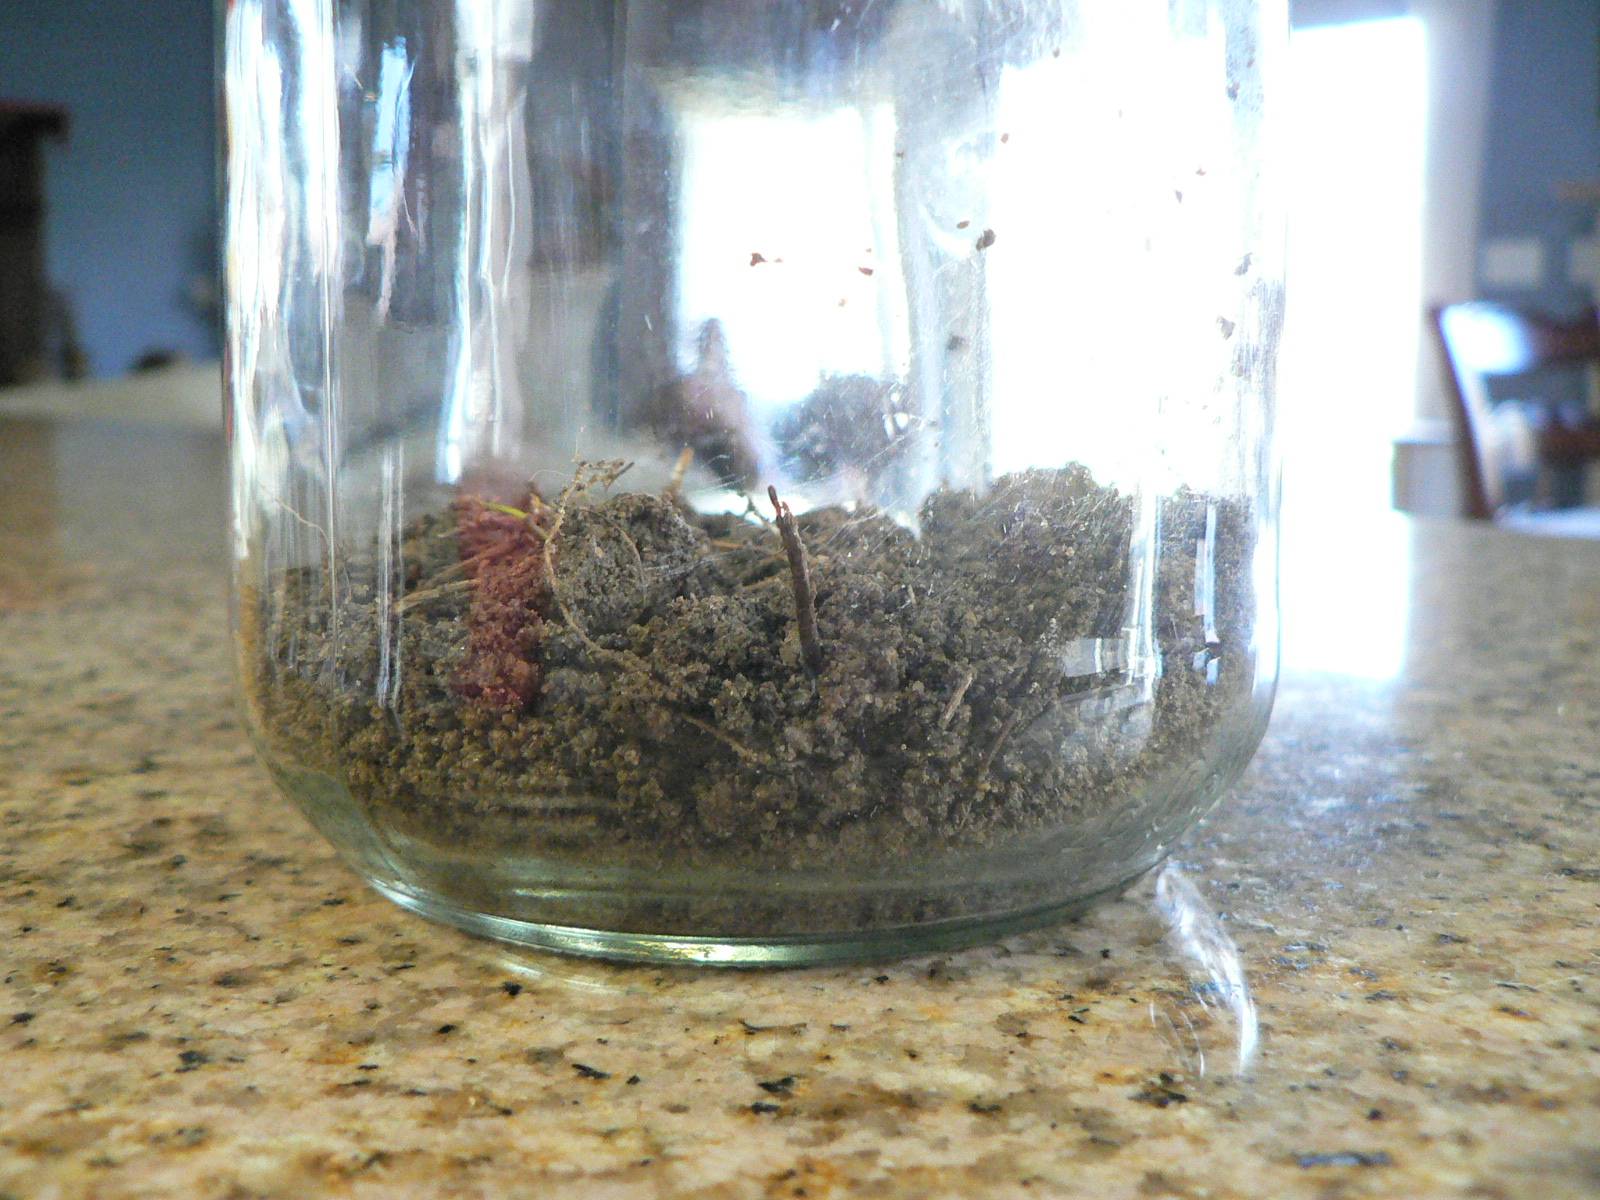
Fill the jar with water.

Add a few drops of liquid dish soap.

Shake vigorously for about one minute. In order to get results that are as accurate as possible, you really need to spend some time shaking it up. Try to break up as many clumps as possible. The dish soap will help with that.

Place the jar somewhere where it will be undisturbed until the contents settle and the water is mostly clear again. This could take up to 24 hours. DO NOT MESS WITH THE JAR!!
When the contents have settled, take a look at the layers of soil that have developed. Sand will sink to the bottom, the next layer will be silt, and the top layer will be clay.

How to read a jar soil test
You have sandy soil if over half the total soil is sand.
You have silty soil if over half the total soil is silt without much clay.
You have clay soil if one-fourth of the total is clay and you there is a fair amount of silt.
You have loam if there is two-fifths sand, two-fifths silt, and a narrow band of clay.
If it becomes apparent that your soil needs amendments, you can use this test as a guideline to help you determine what to add. If you have clay, add some sand or gypsum to help loosen it up. If you have sandy soil, you can add some organic matter and/or compost to help enrich it. Do a little research and find out how to best amend your soil to get improved results.
NOTE- this test does NOT offer information as to the fertility of your soil! Determining the kind of nutrients that are present in your soil requires a whole other test. As does testing for pH. The jar test is intended as a way to determine the TYPE of soil you have and to offer insight as to how to improve that soil type.
Now go dig a hole.